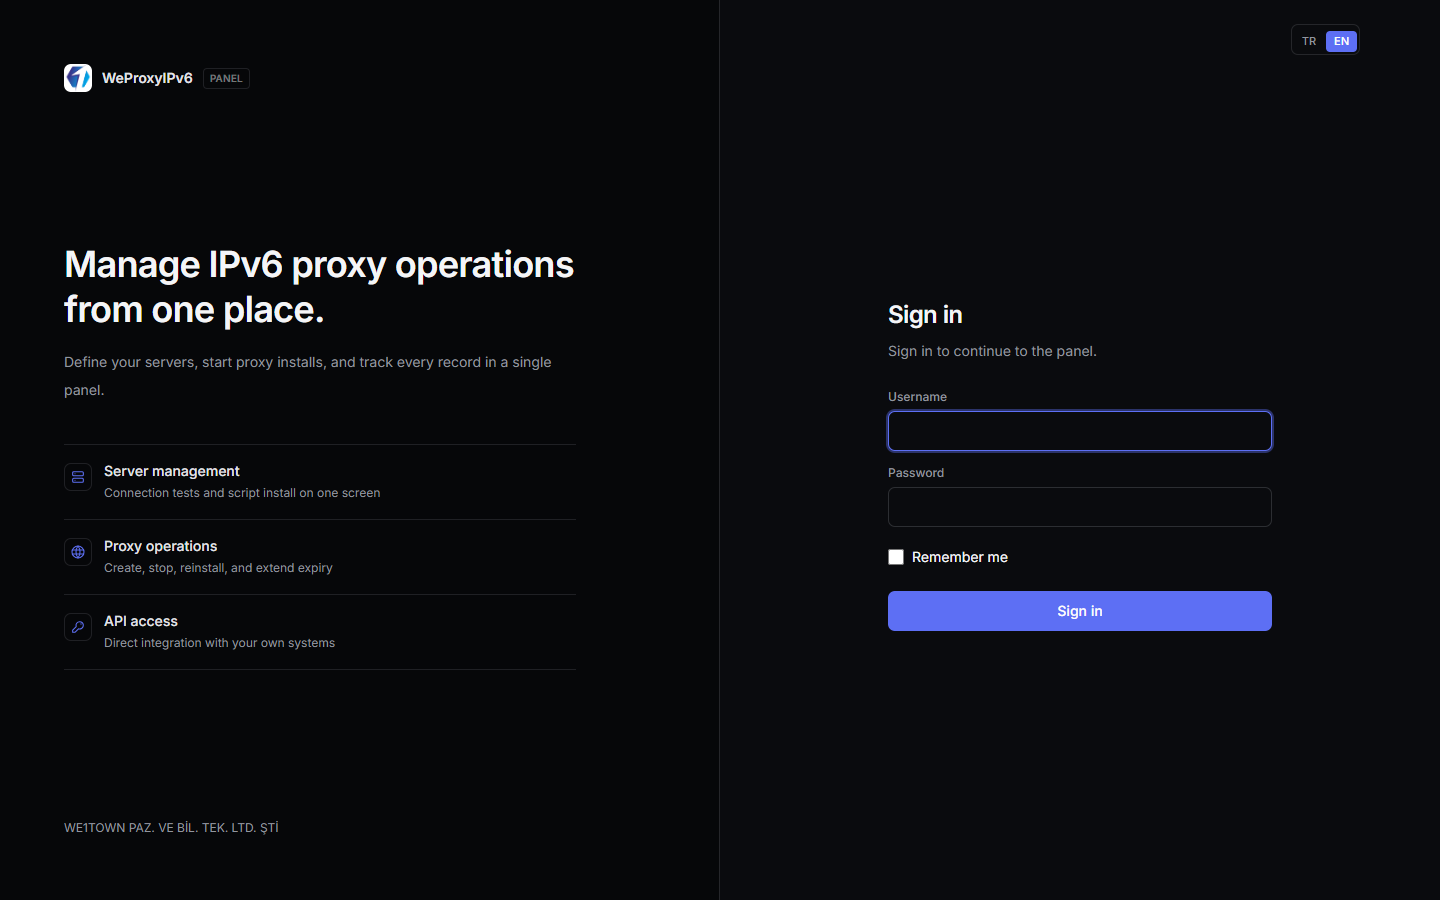
Fully managed IPv6 proxy control panel. We handle installation, hosting, and panel updates — you add your servers and create proxies in minutes. Connect WHMCS, WiseCP, or your own API for full automation.
Why Hosted?
- Instant access: No VPS setup, PHP stack, database, or SSL configuration on your side.
- Managed infrastructure: Panel updates and security patches are applied centrally.
- Entitlement-based limits: Server and proxy quotas enforced automatically per plan.
- Always available: Create proxies, rotate IPv6, and run lookups from browser or API.
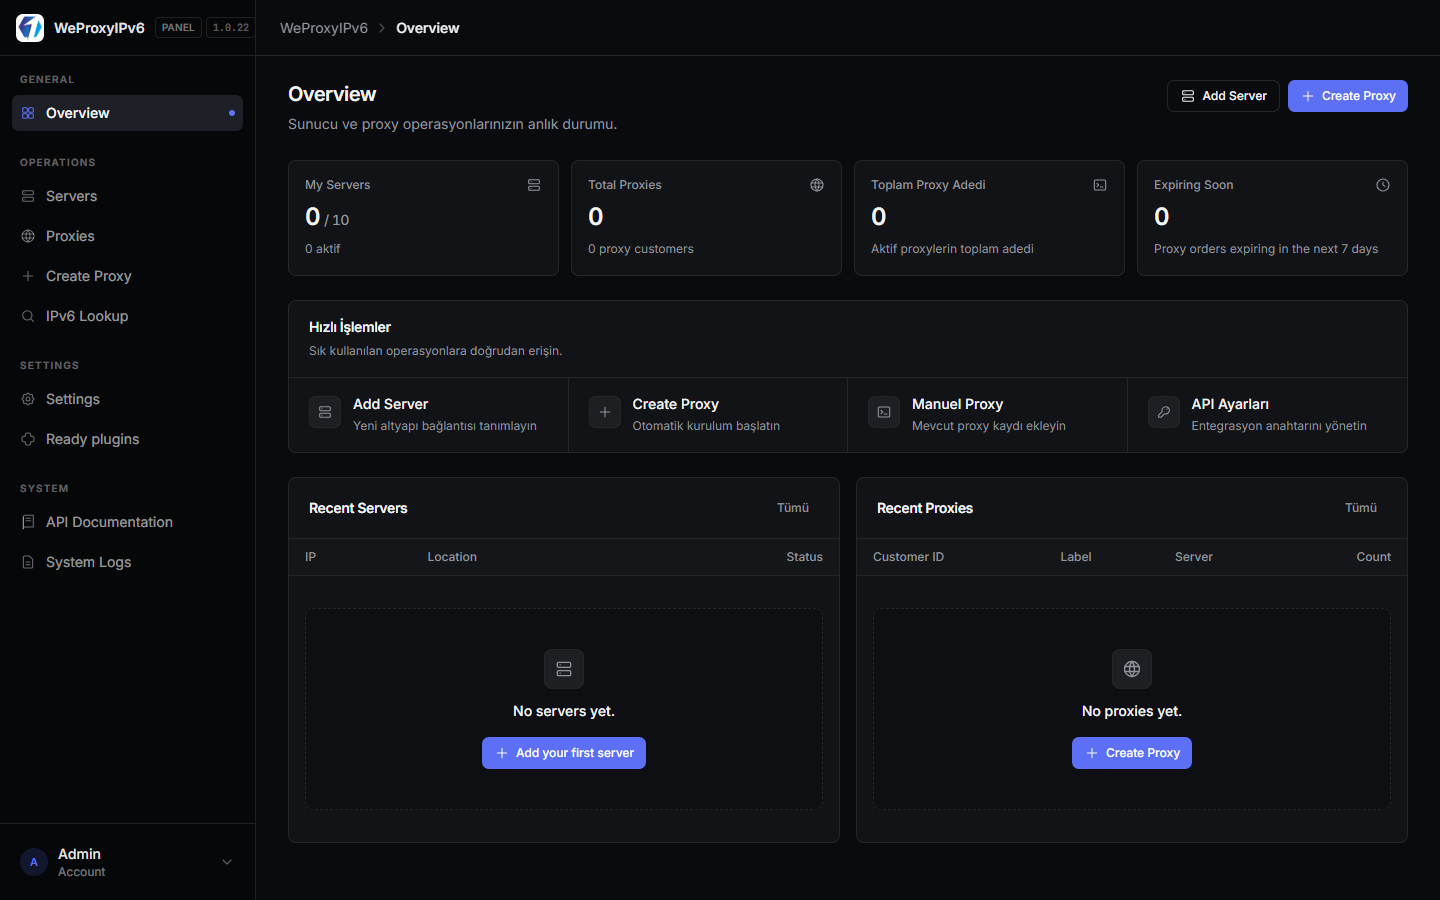
Dashboard & Overview
Server count, active proxies, upcoming expirations, and quick actions on a single screen — built for day-to-day operations.
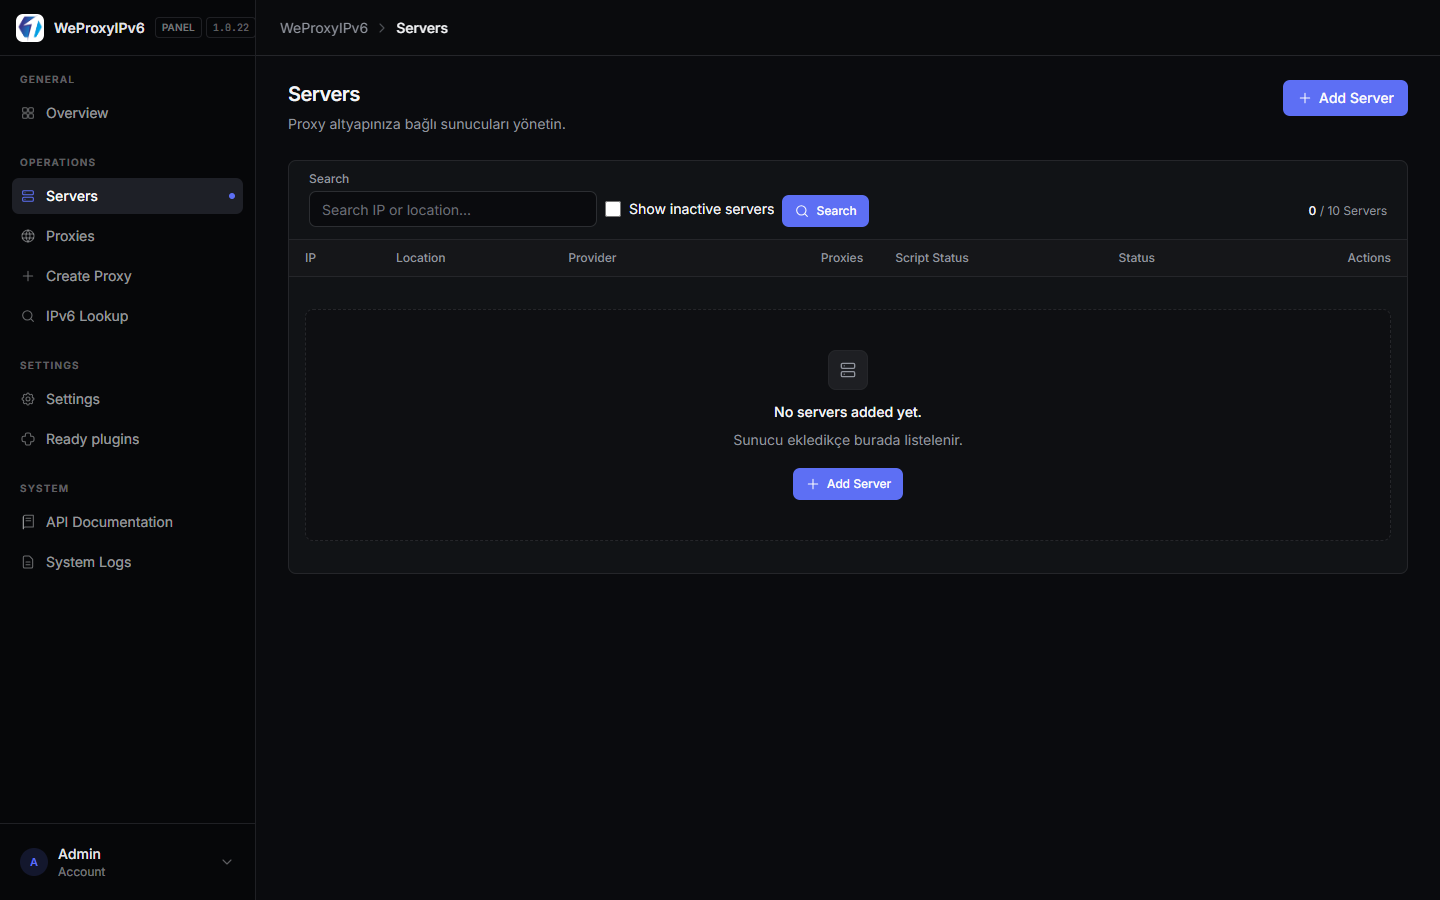
Server Management
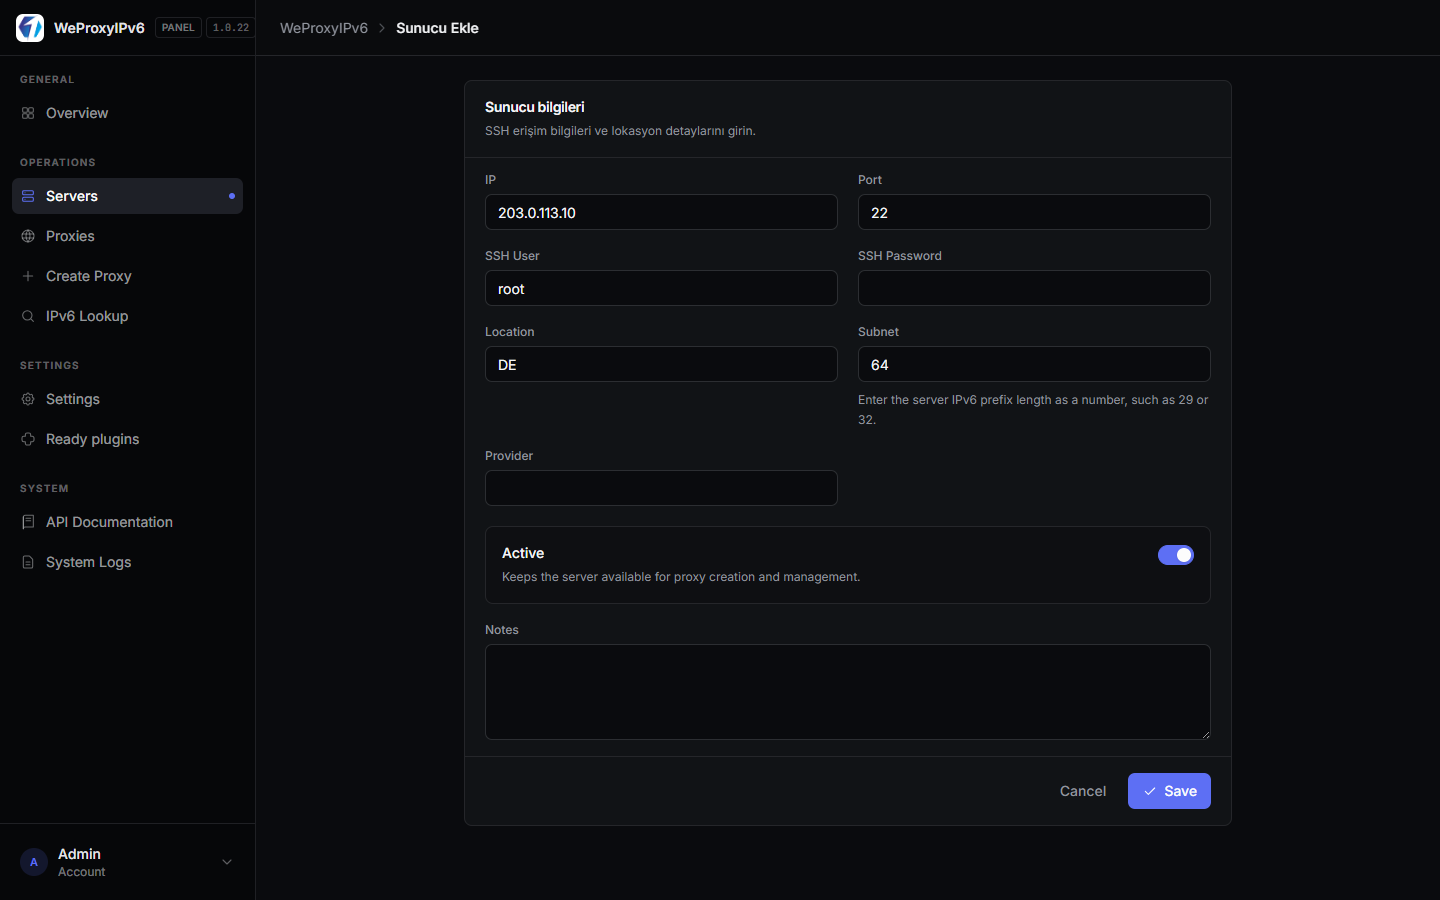
Add IPv6-capable servers over SSH. Connection tests, script deployment, and status tracking — all from the panel.
- SSH user / port / key or password
- One-click connection test
- Per-server capacity and location grouping
Proxy Creation & Management
Create HTTP and SOCKS proxies with static, per-request, or interval-based IPv6 rotation. Port range, credentials, and expiry in one form.
- Static IPv6: Fixed egress address per port
- Per-request rotation: Dynamic IPv6 selection from prefix
- Interval rotation: All ports refreshed on your schedule (minimum 10 seconds)
- Manual proxy records, bulk delete, and expiry extension
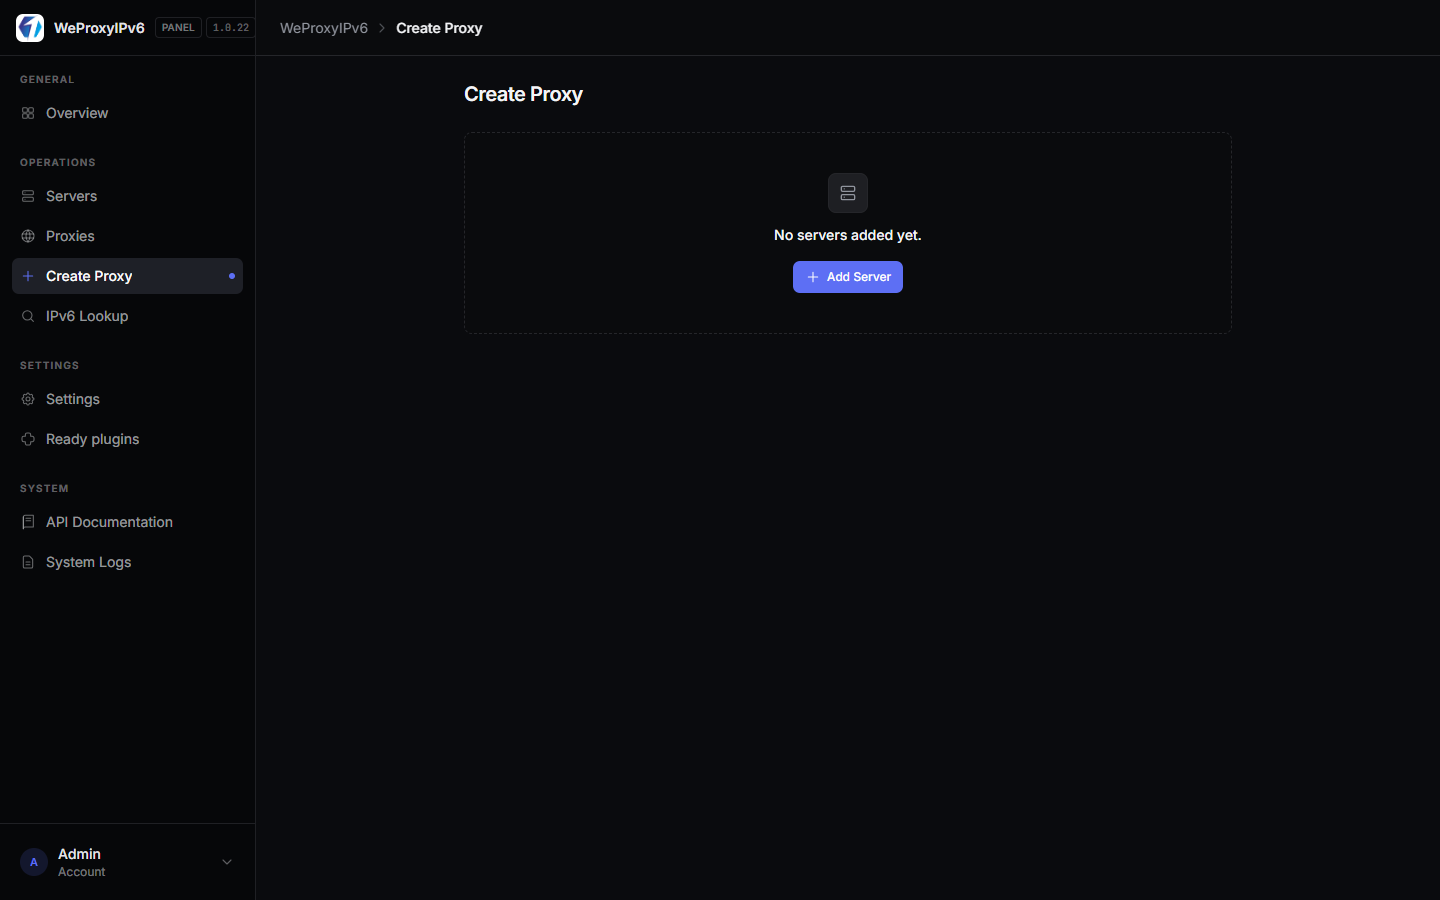
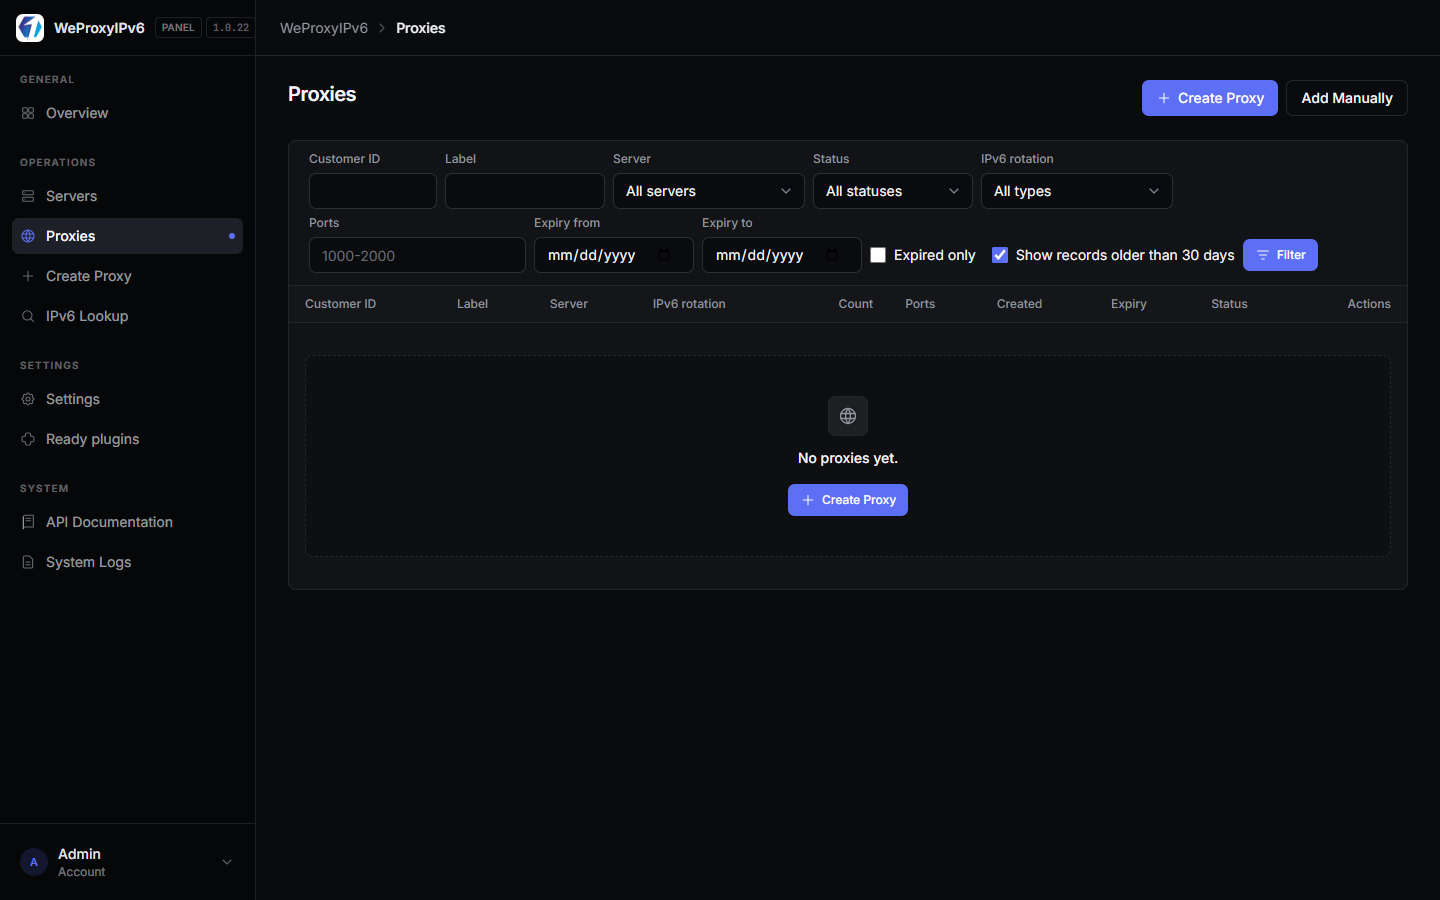
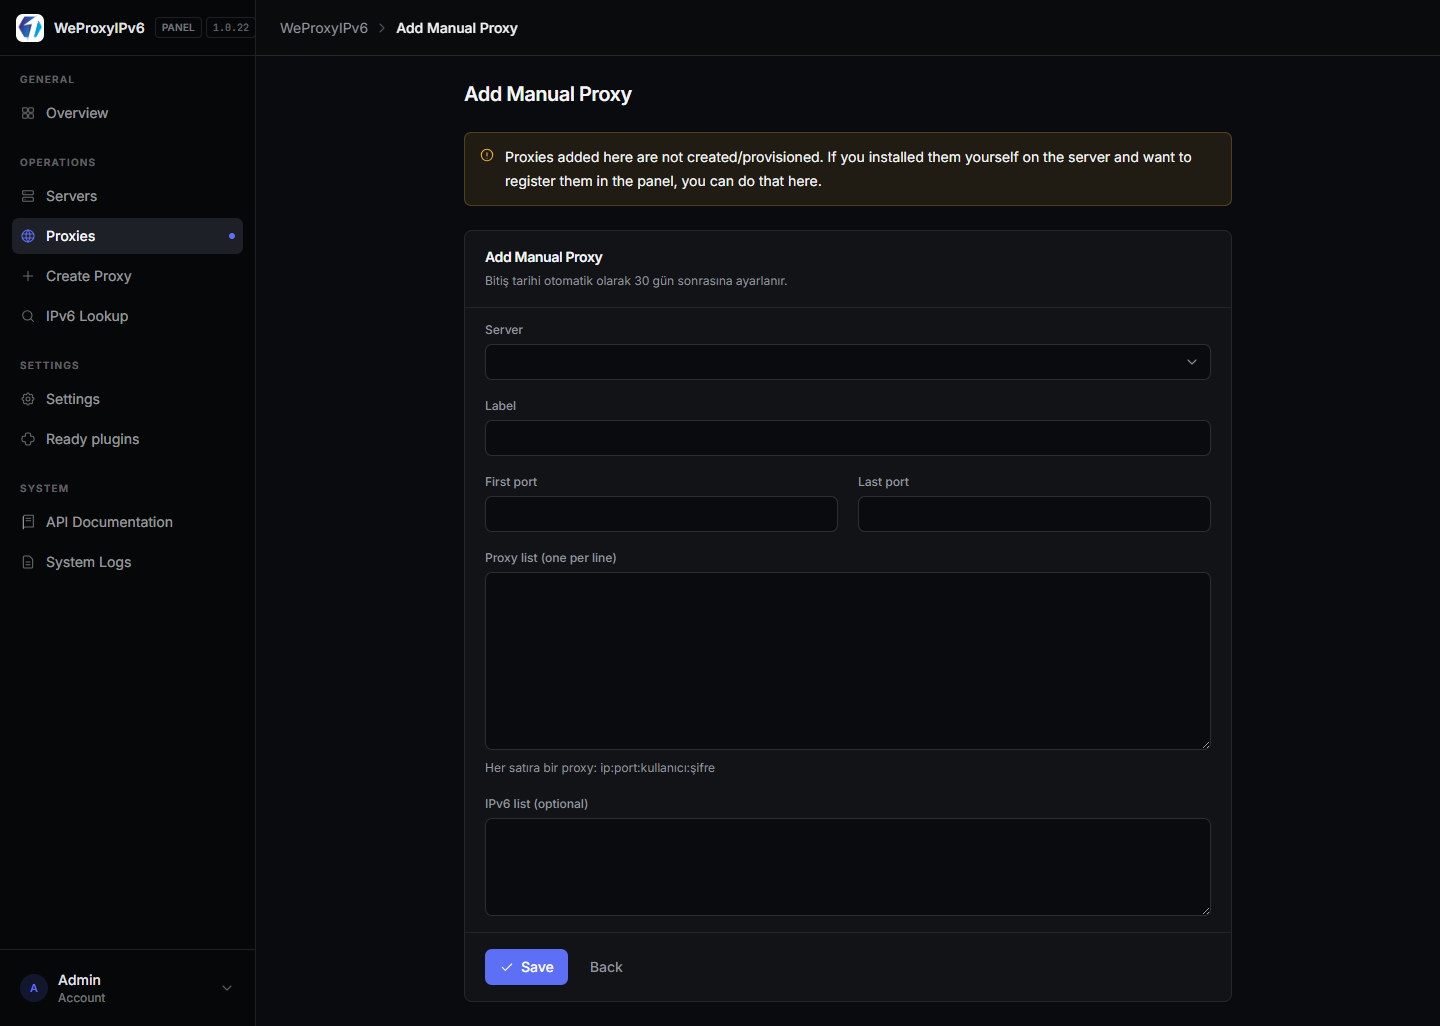
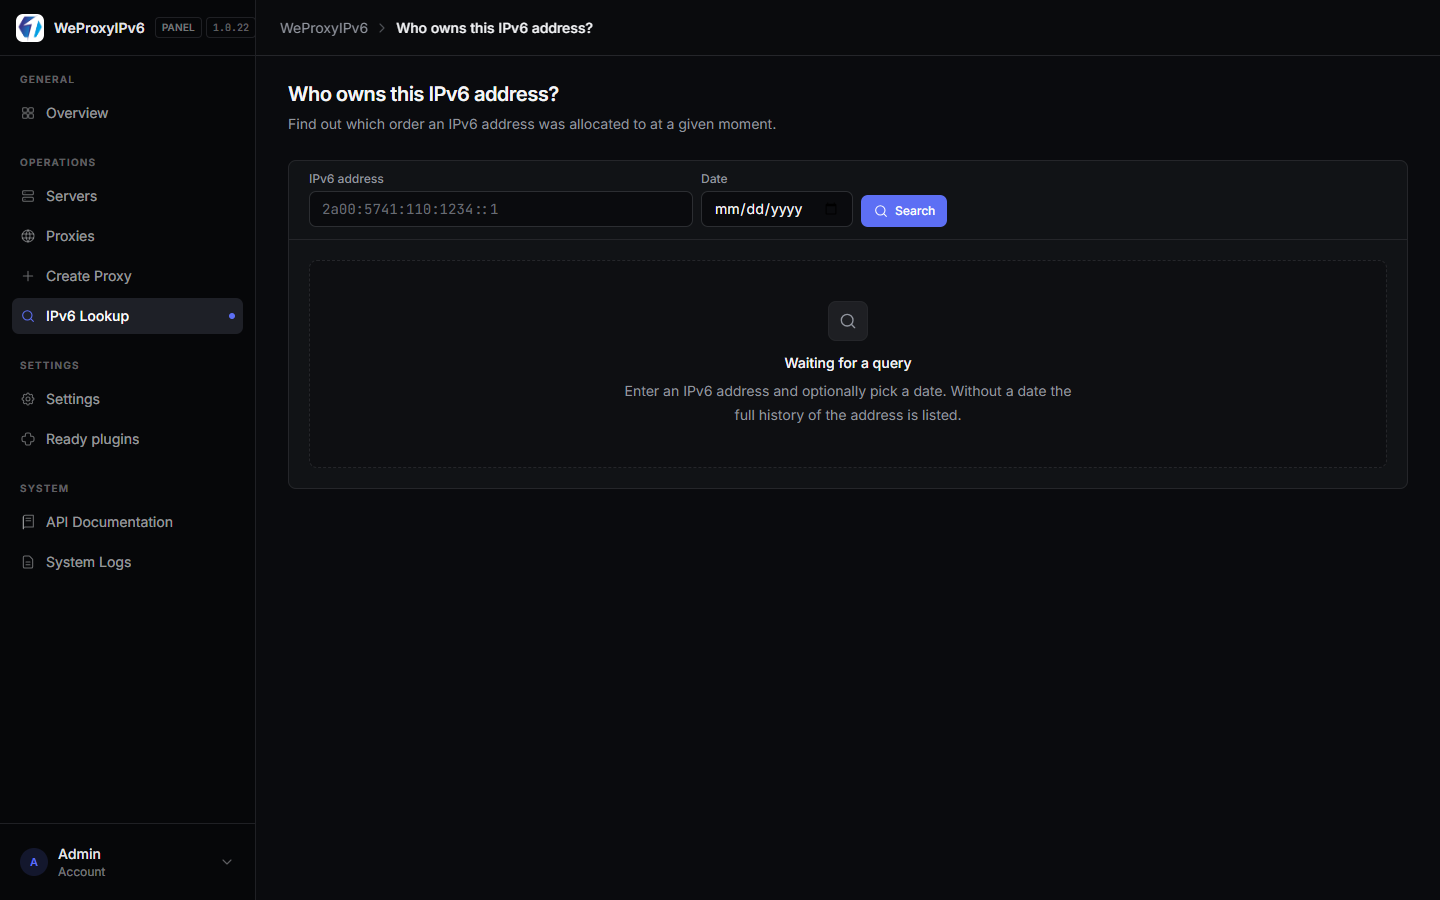
IPv6 Lookup & Usage History
Search which IPv6 address was used on which port. Usage stats sync from servers periodically — faster support and troubleshooting.
WHMCS / WiseCP & REST API
Ready-made billing module plus full API documentation. 60 requests per minute; account info, create proxy, refresh IPv6, and update rotation endpoints.
- WiseCP plugin downloadable from the panel
- Legacy PHP endpoint compatibility
- Live Swagger-style API docs
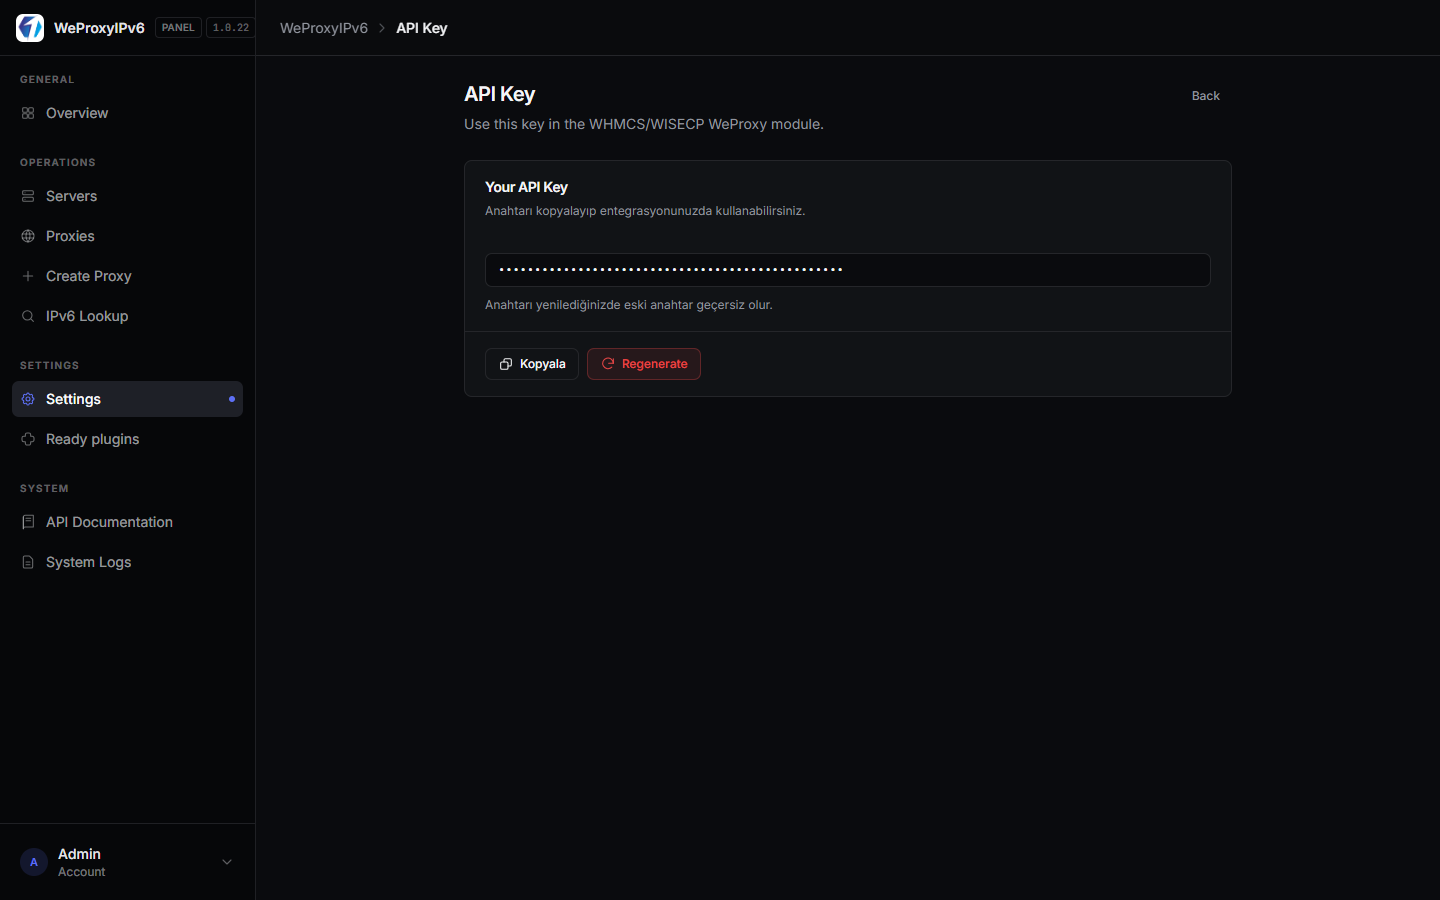
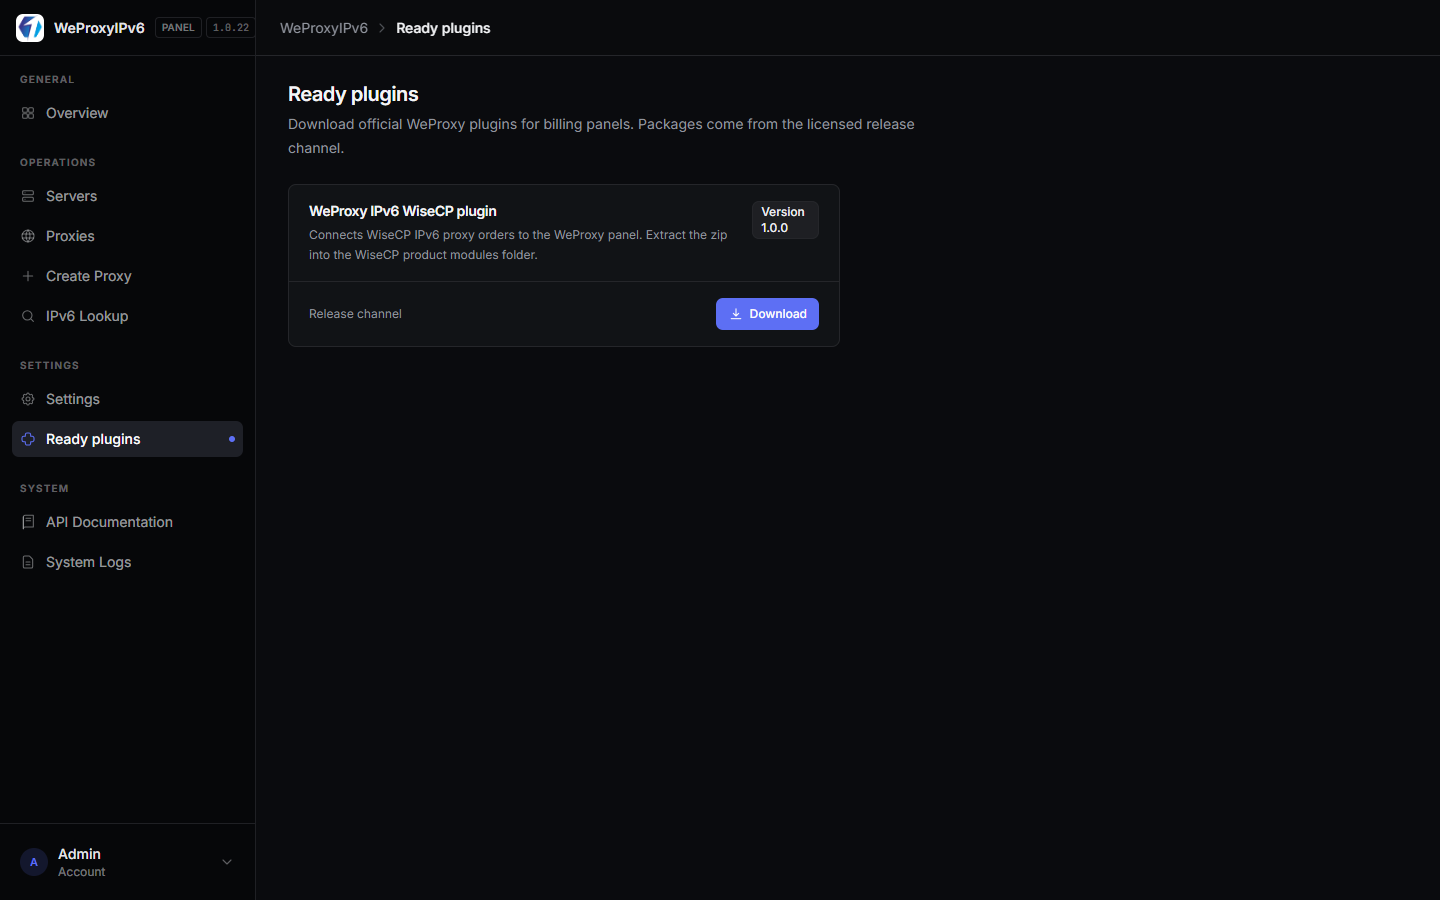
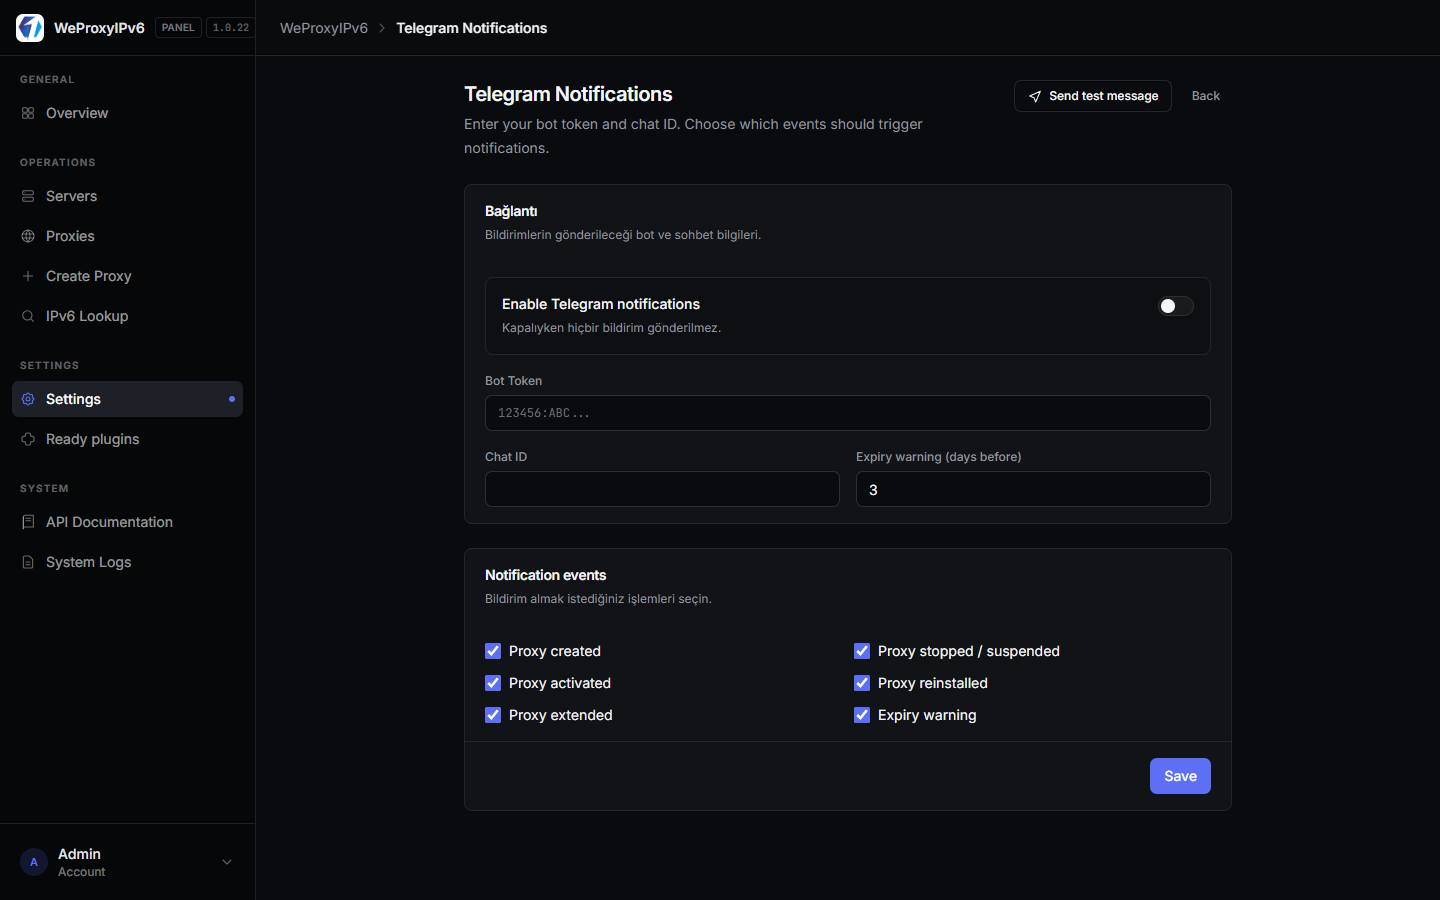
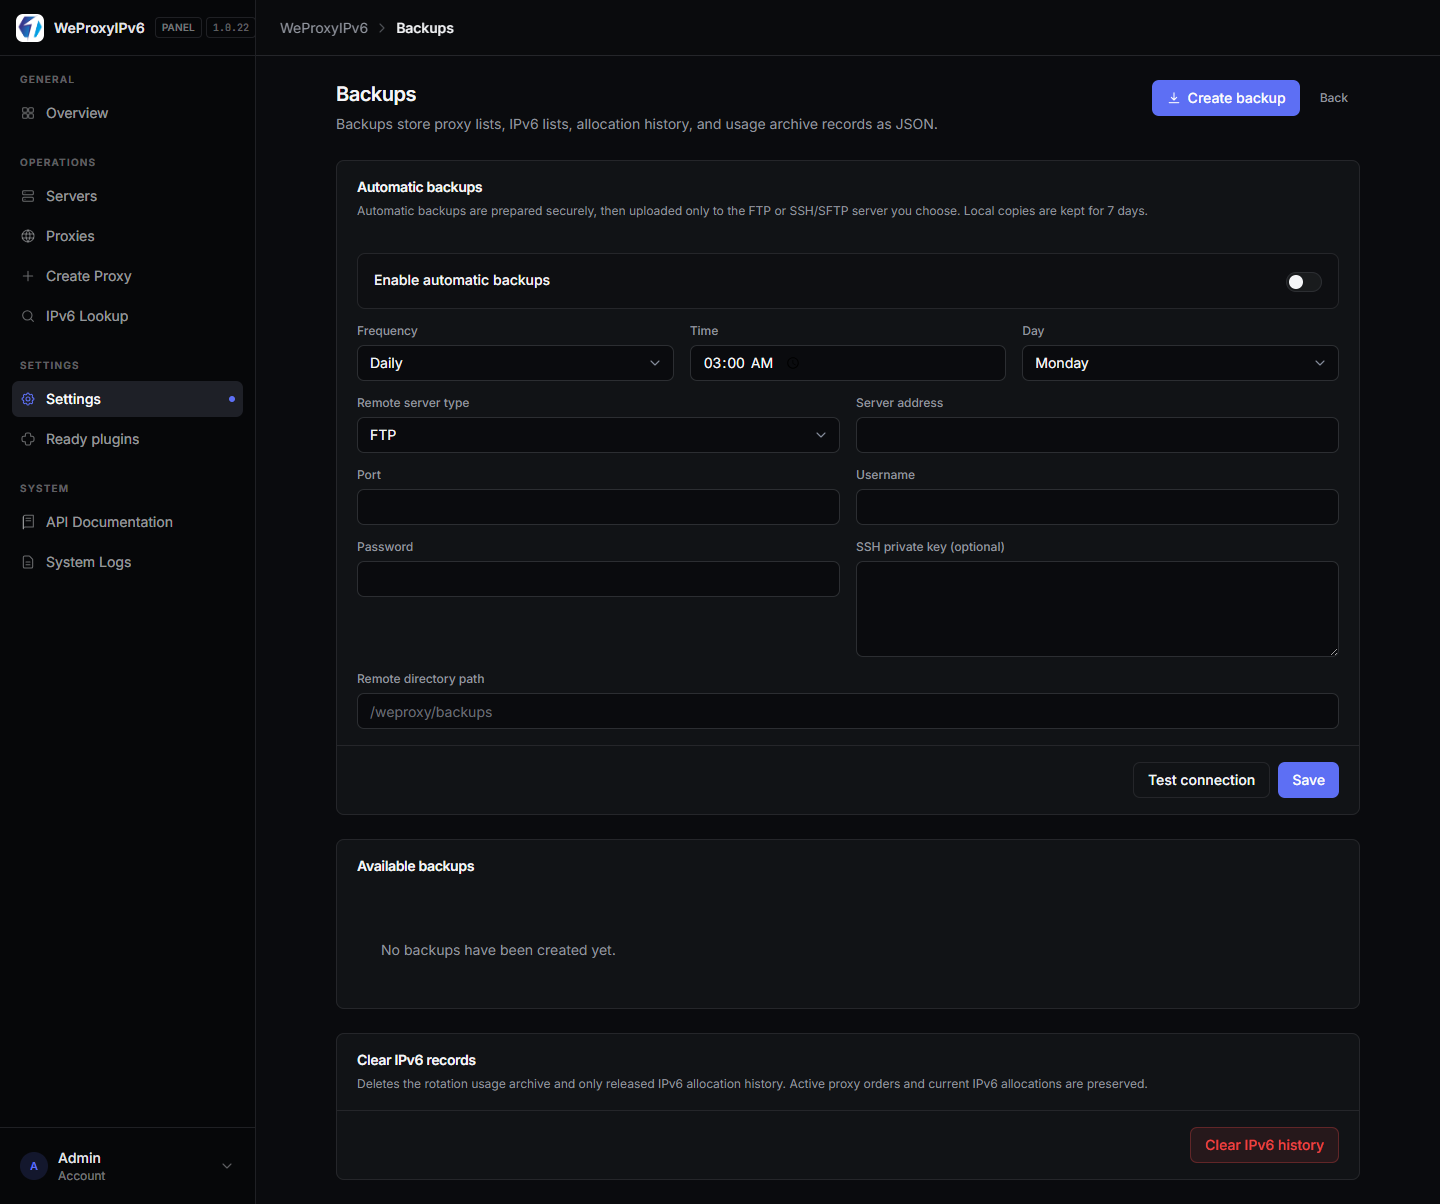
Telegram, Backups & System Logs
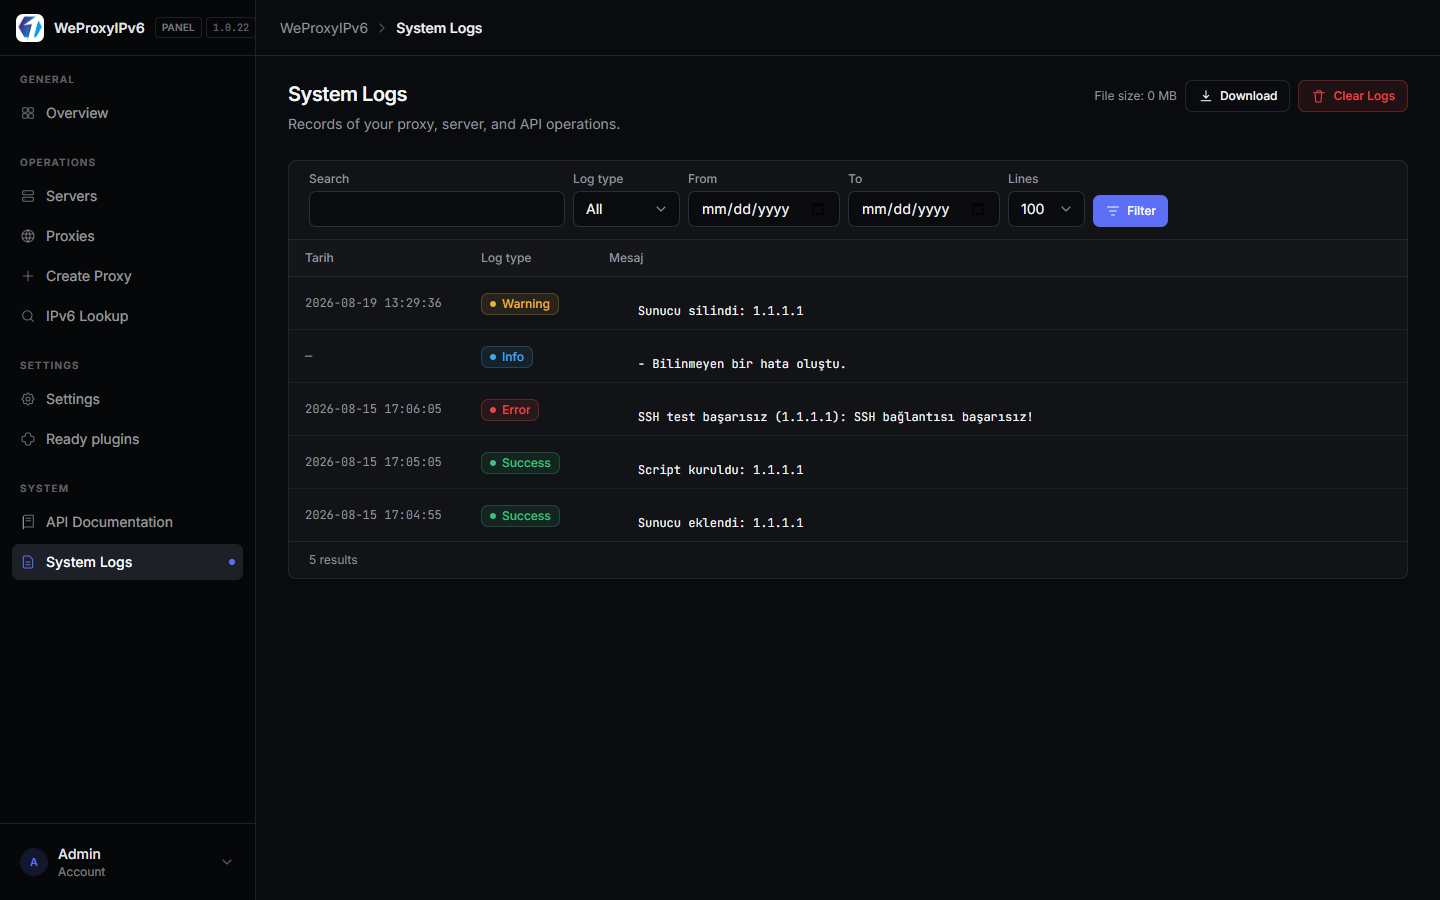
Telegram alerts for critical events, FTP/SFTP backup schedules, and detailed system logs for operational safety.
What's Included
- Hosted panel (SSL, database, updates)
- All panel features (servers, proxies, API, IPv6 lookup)
- WiseCP / WHMCS integration support
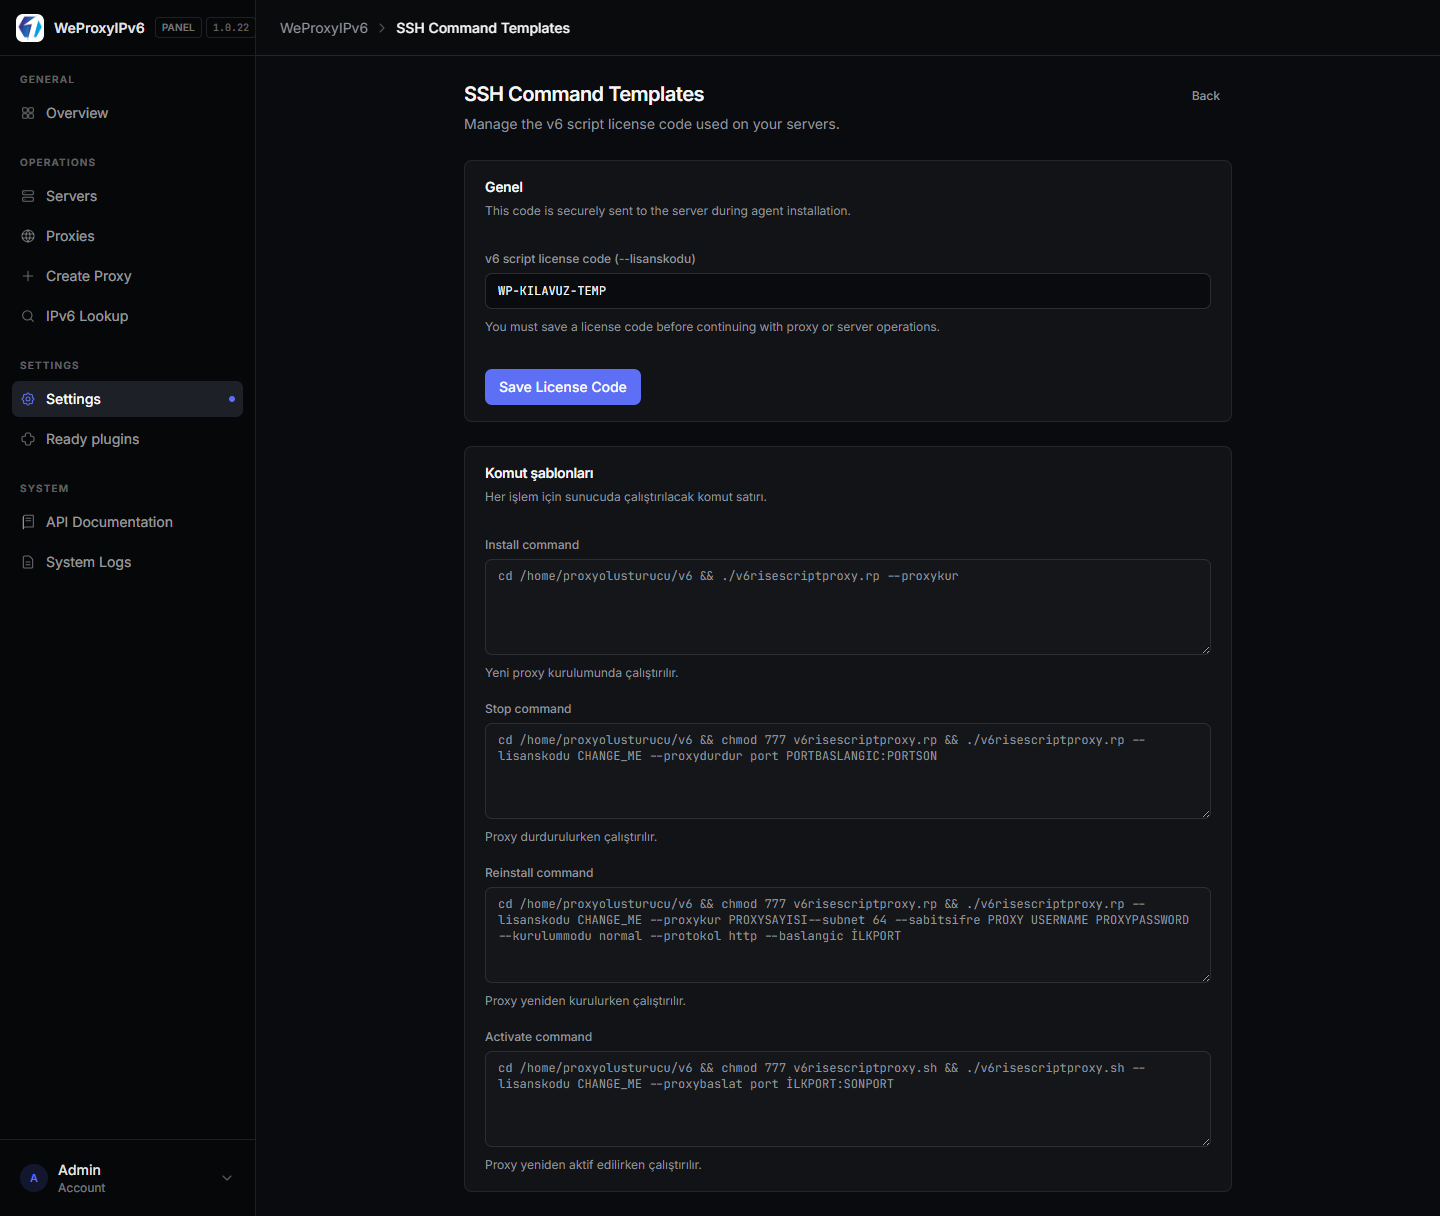
- v6 script license code management (Settings → Commands)
- Technical support channel
Note: You provide the IPv6 proxy servers (VPS); the panel connects via SSH to deploy proxies. Hosted service covers panel infrastructure only.
Who Is It For?
- Resellers launching IPv6 proxy sales quickly
- Operators who don't want to self-host the panel
- Hosting companies with WiseCP / WHMCS stores
- Teams scaling with minimal ops overhead
After purchase: You receive panel URL, credentials, and plan limits by email. Add a server and create your first proxy within minutes.

 Turkey (Türkçe)